How to Calibrate Industrial Pressure Gauges for Accuracy
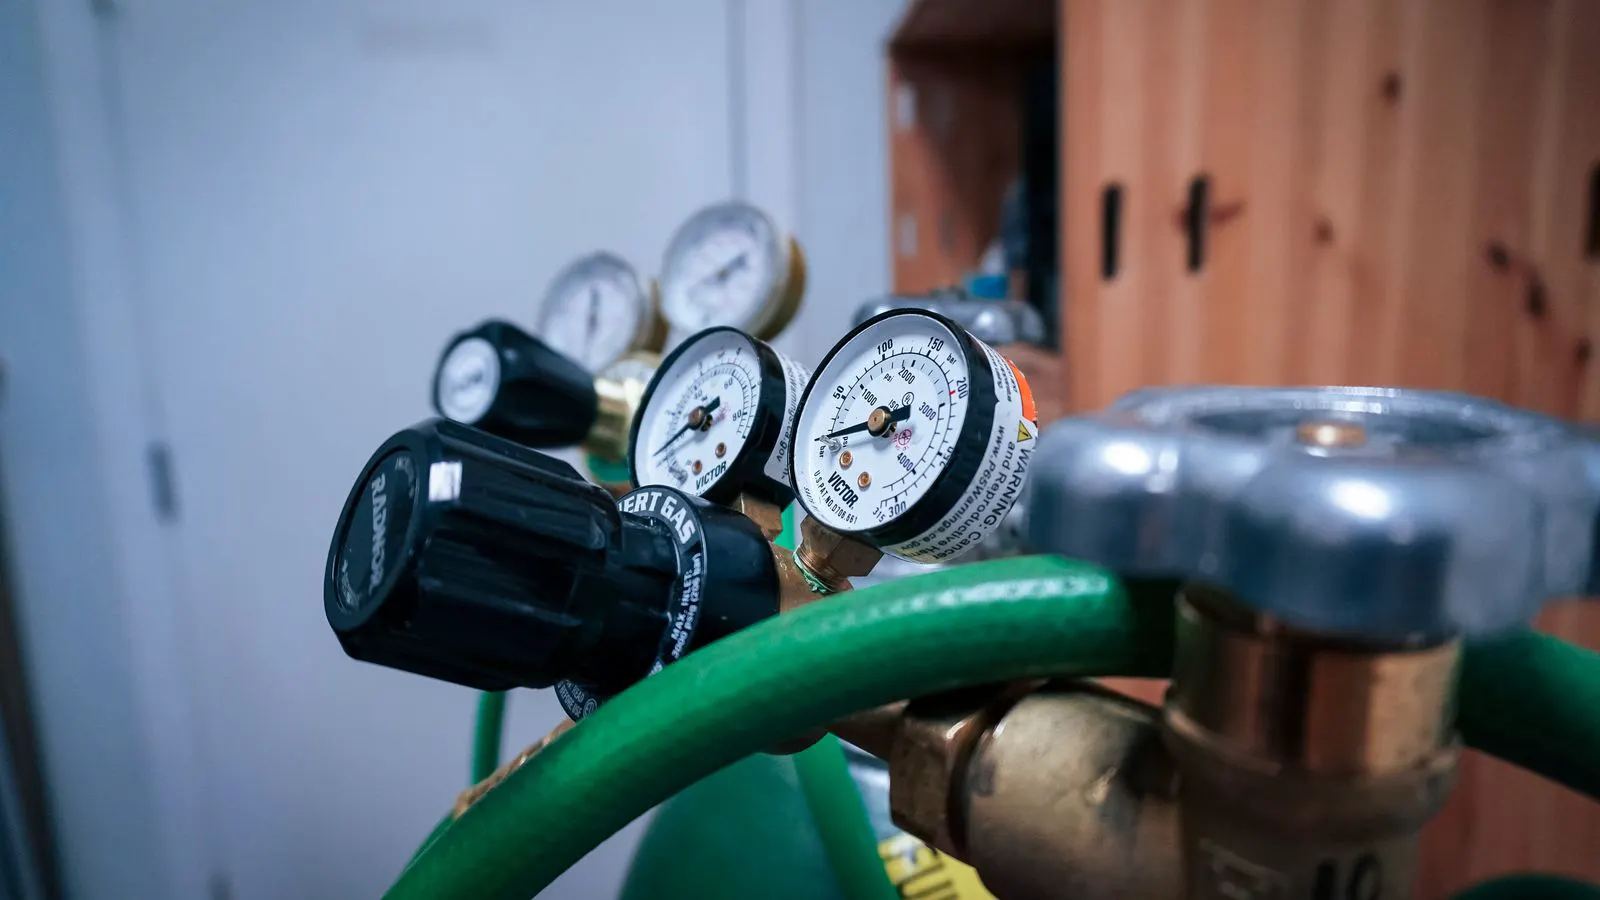
Calibrating industrial pressure gauges involves comparing the device reading against a traceable reference under controlled conditions. Follow structured preparation, zeroing, multi-point testing, and adjustment procedures to correct drift and restore pressure sensor accuracy before returning the gauge to service.
- Use a traceable reference pressure source and verify its calibration status before testing any gauge.
- Run a zero, midpoint, and maximum pressure sequence to catch drift across the full range.
- Record every reading and adjust only when the gauge falls outside the accepted tolerance.
- Document the calibration date, reference standard ID, and operator notes to support quality audits.
Why pressure gauge accuracy degrades in service
Industrial pressure gauges sit in harsh conditions. They see vibration, thermal cycling, and pressure spikes that no bench test can fully reproduce. Over time, the sensing element, such as a Bourdon tube, diaphragm, or capacitive plate, changes shape or electrical characteristics. The spring tension shifts. Seals wear. The mechanism accumulates friction.
The result is drift. A gauge that read accurately six months ago may now sit consistently high or low. In a process control loop, that error can push a controller into the wrong action. In a safety application, it can mask a real hazard.
Calibration is the method that restores confidence in the reading. It compares the gauge output to a reference standard with a known and documented accuracy. When the difference exceeds the tolerance, the gauge is adjusted or repaired. The goal is not just a single pass/fail number. The goal is a reliable instrument that behaves predictably across its range.
What you need before you start
Before touching a pressure gauge, confirm that you have the right tools and the right environment. A calibration done on a dirty bench or with an expired reference source is worse than no calibration at all. It creates a false sense of compliance.
You need the following:
- The pressure gauge under test. Remove it from the process if possible. If it stays connected, isolate it and verify the pressure path is closed.
- A reference pressure source. This can be a deadweight tester, a digital pressure controller, or a calibrated gauge with a higher accuracy class. The reference must be more accurate than the gauge being tested.
- A pressure connection adapter. Match the thread size and type, such as NPT or G-thread, to the gauge port.
- A calibration log or spreadsheet. Record date, gauge serial number, reference standard ID, pressure points, observed values, and pass/fail status.
- A clean and stable environment. Avoid direct sunlight, strong air currents, and nearby heat sources. Let the gauge and reference reach thermal equilibrium before testing.
The reference standard is the most important item. If its calibration certificate is expired, the entire exercise loses meaning. Check the certificate for the last calibration date and the next due date. Keep the certificate available for audit.
Step-by-step calibration procedure
Follow this sequence in order. Skipping the zero check or the maximum pressure point can hide a nonlinearity problem that only appears at the top of the range.
Step 1: Inspect the gauge
Check the face, glass, and casing for damage. Look for cracked glass, bent stems, or corroded threads. If the gauge has a mechanical movement, gently wiggle the stem to check for free play. A gauge with visible damage may need replacement rather than calibration.
Step 2: Connect the reference source
Attach the reference pressure source to the gauge port. Use the correct adapter. Do not force the connection. A cross-threaded fitting will leak and give bad readings.
Step 3: Verify the zero condition
Apply no pressure. Confirm the reference source reads zero. Then observe the gauge pointer or digital display. If the gauge does not read zero, note the offset. Some gauges have a zero adjustment on the back. Use it only if the gauge design supports it.
If the gauge is digital, check the zero in the instrument settings. Do not confuse a software zero with a mechanical zero. A digital transmitter may need a hardware zero adjustment if the sensing element is shifted.
Step 4: Apply the first test pressure
Set the reference source to 10 percent of the gauge range. For a gauge rated at 10 bar, apply 1 bar. Let the reading stabilize. Record the gauge value and the reference value. Repeat the application of the same pressure to check for repeatability.
Step 5: Move through intermediate points
Continue at 25, 50, and 75 percent of the range. For each point, apply the pressure, allow stabilization, record the reading, and then return to zero. This up-and-down sequence catches hysteresis and mechanical sticking.
Step 6: Apply maximum pressure
Set the reference to the gauge maximum rating. Do not exceed this. Hold the pressure for the time specified by your procedure, usually long enough for the reading to settle. Record the value. Then reduce the pressure back to zero.
Step 7: Compare values against tolerance
Calculate the error at each point. The error is the difference between the gauge reading and the reference value. Compare it to the acceptable tolerance. For many industrial gauges, the tolerance is based on the accuracy class printed on the nameplate. A 1.0 class gauge should stay within 1 percent of range.
If the error is within tolerance at every point, the gauge passes. If it fails at one or more points, adjust or replace it. Do not adjust a gauge just because it looks slightly off. Adjust only when the measurement is outside the required limit.
How to interpret the data
The table below shows a typical calibration record for a 0 to 10 bar gauge with a 1.0 accuracy class. The tolerance is 0.1 bar. The reference source is a deadweight tester with a documented error of 0.01 bar or less.
| Pressure Point | Reference (bar) | Gauge Reading (bar) | Error (bar) | Tolerance (bar) | Result |
|---|---|---|---|---|---|
| 0 | 0.00 | 0.05 | 0.05 | 0.10 | Pass |
| 1 | 1.00 | 1.02 | 0.02 | 0.10 | Pass |
| 2 | 2.00 | 2.10 | 0.10 | 0.10 | Pass |
| 5 | 5.00 | 5.08 | 0.08 | 0.10 | Pass |
| 10 | 10.00 | 10.12 | 0.12 | 0.10 | Fail |
The gauge passes the lower and middle points but fails at the maximum pressure. This pattern often indicates that the sensing element has lost tension or the spring mechanism is weak. The gauge may still be useful for low-pressure work, but it should not be used at the top of its range until repaired.
If the gauge passes at the bottom but fails at the top, check for mechanical binding. If it fails at the top and bottom but passes in the middle, the error may be nonlinear and harder to correct. In some cases, a single-point adjustment can fix it. In others, the gauge needs a new sensing element.
Common calibration mistakes
Mistakes in calibration usually come from rushing or from using the wrong reference. Here are the errors that show up most often in the field.
Using a gauge as the reference. A gauge cannot calibrate another gauge of the same accuracy class. The reference must be at least three times more accurate. If you have a 1.0 class gauge and a 1.0 class reference, the uncertainty of the comparison is too high to prove accuracy.
Ignoring hysteresis. Hysteresis is the difference between the reading on the pressure increase and the reading on the pressure decrease. If you only test in one direction, you miss this error. Always test both up and down.
Skipping the zero check. A gauge with a zero offset will show the same error at every point. If you do not check zero first, you may adjust the gauge incorrectly and make the error worse.
Forcing the connection. A loose or damaged fitting leaks pressure. The gauge reading will fluctuate and look like the gauge is drifting. Fix the connection before judging the gauge.
Using the wrong tolerance. Some specifications require a tighter tolerance than the nameplate class. For example, a safety relief valve gauge may need a 0.25 class even if the gauge is rated 1.0. Check the application requirement before deciding pass or fail.
When to adjust or replace
Not every failing gauge can be adjusted. Mechanical gauges with a zero adjustment on the back can often be corrected if the error is small and consistent. Digital transmitters can be zeroed and span-adjusted in software or with a pot.
If the gauge has a large error at only one point, the problem may be mechanical. A cracked Bourdon tube or a bent diaphragm will not respond to a simple adjustment. Replace the sensing element or the gauge.
If the error is a uniform offset, a zero adjustment may fix it. If the error grows with pressure, a span adjustment may help. If the error is erratic, the gauge is likely damaged and should be removed from service.
Final verification step
After adjustment, run the full calibration sequence again. Do not skip any points. The adjustment may have shifted the error at one point while improving another. The final pass confirms that the gauge now meets the tolerance across the entire range.
Record the final values in the log. Include the date, the operator name, the reference standard ID, and the pass/fail result. If the gauge fails after adjustment, tag it as out of service. Do not leave it connected to the process.
A final verification is not a formality. It is the step that separates a calibration from a guess. If you can trace the reading back to a documented reference standard and show that the gauge passed at every test point, you can trust the measurement.
What to do with the gauge after calibration
After a successful calibration, return the gauge to its mounting location. Check that the process connection is tight. Apply a small amount of thread sealant if the fitting is new or if the material requires it.
If the gauge is digital, verify that the output signal, such as 4 to 20 mA or a fieldbus message, matches the expected value. A mechanical gauge may pass the pressure check but have a broken transmitter module.
Keep the calibration sticker or label on the gauge. It should show the date of calibration and the next due date. Some facilities use color-coded stickers. A green sticker means the gauge is current. A yellow sticker means it is due soon. A red sticker means it is out of calibration.
Store the calibration certificate in the equipment record. When the next calibration is due, the previous record gives you a baseline. If the gauge drifts faster than expected, the previous data can help you decide whether to shorten the calibration interval or replace the instrument.
Practical tips for consistent results
Consistency matters more than one perfect calibration. If you calibrate ten gauges, use the same procedure each time. Use the same reference source. Use the same stabilization time. Use the same recording format.
Let the gauge settle. A mechanical gauge may take several seconds to stop moving. A digital transmitter may take longer. If you read the value too early, you will record a transient reading, not a stable one.
Check the reference source before and after the batch. If the reference drifts during the session, the whole batch is suspect. A deadweight tester is stable. A digital controller can drift if its internal sensor is affected by temperature.
If you are calibrating in the field, protect the reference source from dust and moisture. A small particle in the deadweight tester or a leak in the hose can ruin the test. Bring a clean rag and a leak detection fluid.
Calibration is a discipline. It requires patience and attention to detail. A careful calibration saves time later. It prevents process upsets, protects equipment, and keeps safety systems reliable.
Frequently asked questions
How often should I calibrate pressure gauges?
Calibrate pressure gauges based on the application criticality and the manufacturer recommendation. High-risk safety systems usually need more frequent calibration than low-risk process monitoring. Check your site procedure.
Can I calibrate a gauge while it is connected to a live process?
You can, but only if the process pressure is stable and you can safely apply a reference source. In most cases, it is safer to isolate the gauge and take it to a calibration bench.
What if the gauge passes at low pressure but fails at high pressure?
This usually indicates a mechanical problem in the sensing element or the movement. A simple zero adjustment will not fix it. Inspect the gauge and consider replacing the sensing element or the gauge.
Do I need to calibrate digital pressure sensors the same way as mechanical gauges?
Yes, the principle is the same. Compare the output to a reference pressure at multiple points. The difference is that digital sensors may need zero and span adjustments in software, while mechanical gauges may need a physical adjustment.
What should I do if the reference standard is expired?
Do not use an expired reference standard for calibration. Find a calibrated reference or send the reference to a calibration lab. An expired standard makes the calibration results invalid.